A fresh coat of paint is one of the easiest and most affordable ways to transform a room. It brightens your walls, changes the mood, and gives your home a new look without the cost of a full renovation. As 2026 begins, many Canadian homeowners are planning indoor refresh projects to make the long winter months feel a little lighter.
The secret to a sharp, professional finish isn’t only the paint you choose – it’s the tools you use. With the right brushes, rollers, and prep supplies, even first-time DIY painters can get results that look like they came from a pro. This guide breaks down the best painting tools for DIY wall projects in 2026 and shows you how to build a toolkit that works.
Essential Painting Tools Every DIYer Needs
A successful paint job goes far beyond “brush and bucket.” Think of your tools in three stages: preparation, application, and cleanup.
- Preparation Tools
- Painter’s tape for crisp lines
- Drop cloths to protect floors and furniture
- Spackling compound and a putty knife for patching holes
- Fine-grit sandpaper for smoothing walls
- Application Tools
- A high-quality 2.5-inch angled brush for edges
- A sturdy 9-inch roller frame
- Roller covers (with the right nap for your wall texture)
- A durable paint tray with disposable liners
- Cleanup Tools
- A painter’s multi-tool for scraping and cleaning
- A wire brush or brush comb for bristle care
- Old rags for spills and wipe-downs
Why Good Tools Make All the Difference
Cutting corners on tools often means cutting corners on quality. Here’s why it pays to invest a little more:
- Save Time and Effort – A good roller holds more paint, meaning fewer trips to the tray and fewer coats overall.
- Achieve a Professional Finish – Quality brushes cut sharp lines and won’t leave stray bristles behind. Premium tape reduces bleeding and messy edges.
- Better Value Over Time – While bargain-bin kits may fall apart after one project, well-made brushes and roller frames can be cleaned and reused for years.
Takeaway: Rollers should be used in a way that ensures even film thickness, with clean, full‐pile roller sleeves appropriate for the surface texture, as specified in the U.S. General Services Administration’s General Guidelines for Painting Exterior and Interior Surfaces document.

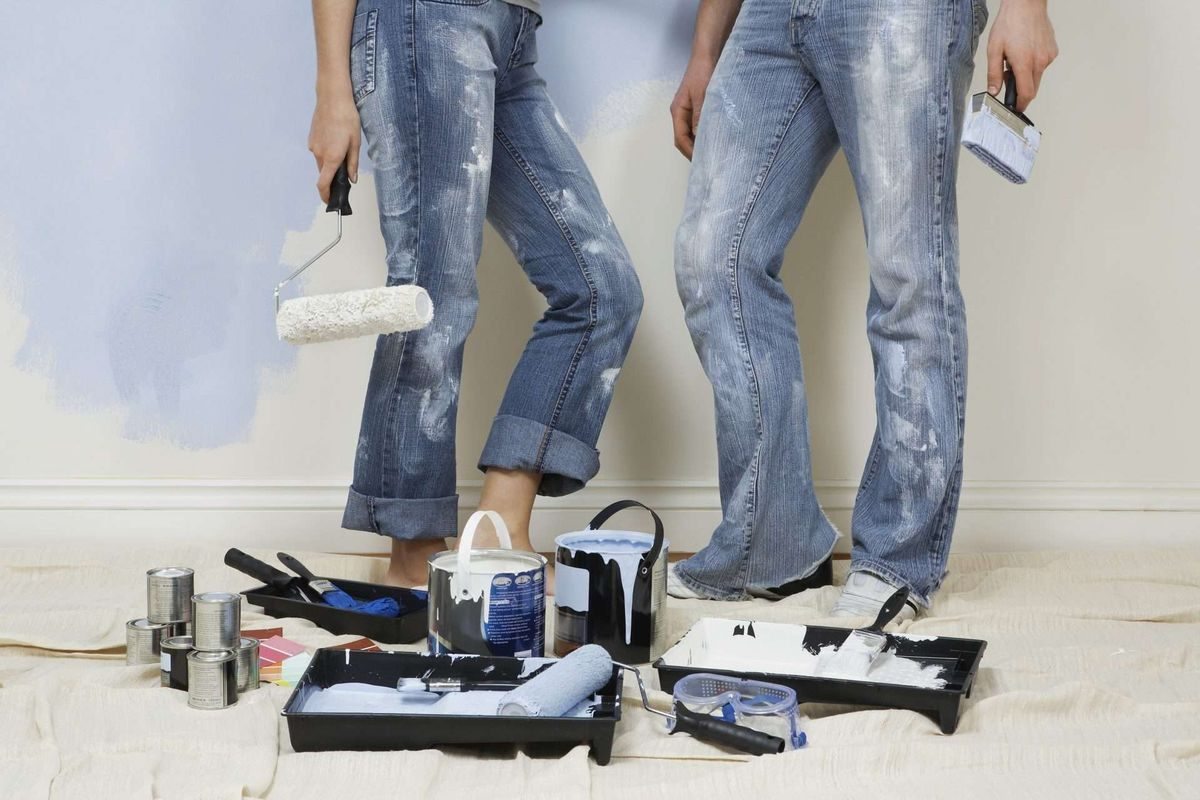
DIY home painting tools with roller, brushes, and tray
Comparing Paint Applicators
Not sure whether to reach for a brush, roller, or something else? Here’s how the most common applicators stack up:
| Tool | Best Use Case | Finish Quality | Ease of Use |
| 2.5-Inch Angled Brush | Cutting in trim, corners, and ceiling lines | Clean edges, can leave slight marks | Requires practice |
| 9-Inch Paint Roller | Covering large wall surfaces quickly | Smooth, even finish with proper nap | Easy to use |
| Paint Pad/Edger | Straight edges without tape | Can be smooth, but may streak | Simple for beginners, tricky in corners |
Choosing the Best Tools for Your Project
When you’re picking out supplies for 2026, use these quick tips:
- Match the Roller Nap to the Wall Texture
- Smooth drywall: short nap (6-10mm)
- Light texture: medium nap (10-15mm)
- Heavy texture: thick nap (15-20mm+)
- Pick the Right Bristles
- Latex (water-based) paint: synthetic bristles (nylon or polyester)
- Oil-based paint: natural bristles
- Buy Quality Painter’s Tape
Look for “clean removal” labels and surface-specific options. A good tape saves time on touch-ups. - Don’t Skimp on Prep Supplies
A sturdy drop cloth and solid putty knife may not be glamorous, but they make the job easier and cleaner. Surface preparation – like properly sanding, cleaning, and smoothing before painting – has been shown to significantly influence the durability of repair coatings, according to a study by Canada’s National Research Council.
Mistakes Homeowners Should Avoid
- Buying a “Bargain Bin” Tool Kit: The cheapest all-in-one kits often contain tools that fail mid-project-think shedding rollers, bleeding tape, and flimsy trays. It’s better to buy quality tools individually.
- Skipping Wall Preparation: Painting over dirt, dust, or glossy surfaces without cleaning or light sanding is a recipe for peeling paint. As paint manufacturers advise, proper surface preparation is essential for adhesion and durability.
- Overloading Your Brush or Roller: Dipping your tools too deep into the paint causes drips, runs, and an uneven finish. Load a brush only one-third of the way up the bristles, and use the ribbed part of your paint tray to roll off excess paint from the roller.
Discussion: Brushes and Rollers vs. Paint Sprayers
Paint sprayers are often marketed as faster alternatives – but they’re not always practical for DIY wall projects.
- Pros: Extremely smooth finish, fast coverage on empty rooms.
- Cons: Time-consuming prep (masking everything), steep learning curve, and messy cleanup.
For most Canadian homeowners painting a bedroom, living room, or hallway, traditional brushes and rollers remain the more reliable, budget-friendly choice.
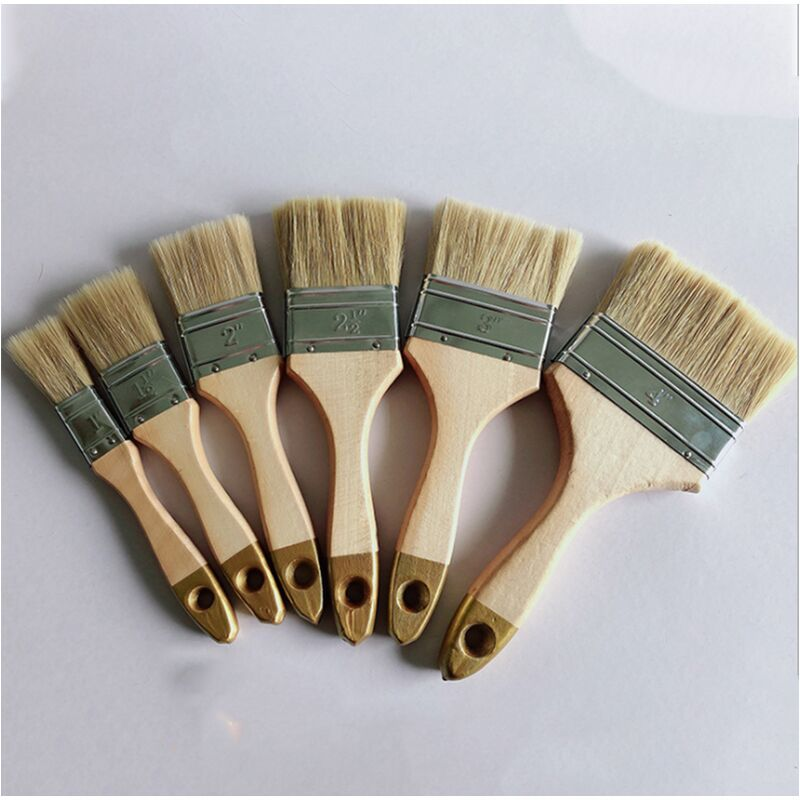
Set of wooden handle paint brushes in multiple sizes
Quick Checklist Before You Start Painting
- Patch and sand any holes.
- Wash walls to remove dust and grease.
- Tape off trim and edges with quality painter’s tape.
- Lay down heavy-duty drop cloths.
- Load your tray with paint, not too much at once.
- Start with cutting in (brush edges), then roll large areas.
NOTE: Always plan for ventilation, use gloves or masks, and clean tools carefully. The Government of Canada’s guide “Chemical safety for renovations and DIY projects” offers best practices for safe use, storage, and cleanup of paint and related supplies.
Frequently Asked Questions (FAQ)
1. What should I consider when buying the best painting tools for DIY wall projects?
Focus on quality over quantity. A high-quality angled brush, a sturdy roller frame, and a couple of premium roller covers matched to your wall texture are more important than a large kit of cheap tools. Don’t forget non-stretchy drop cloths and a good brand of painter’s tape.
2. How do I choose the best paint roller nap for my walls?
The rule is simple: the smoother the surface, the shorter the nap. Use a 6-10mm nap for smooth drywall or plaster. For slightly textured surfaces, use a 10-15mm nap. For rough surfaces like stucco or concrete block, you’ll need a 20-32mm nap.
3. What are the advantages and disadvantages of buying a pre-made painting kit?
The main advantage is convenience-you get most of what you need in one purchase. The primary disadvantage is that the tools are often of lower quality to keep the price down, which can compromise the quality of your finish and lead to frustration.
Conclusion
A beautiful, professional-looking paint job is entirely within your reach. The key is to recognize that your tools are just as important as your paint colour. By investing in the best painting tools for DIY wall projects, you are setting yourself up for a smoother process and a result you can be proud of for years to come. As you plan your 2026 home refresh, use this guide to confidently build your toolkit and get ready to transform your space.